Transform Your Space with This Simple Home Upgrade
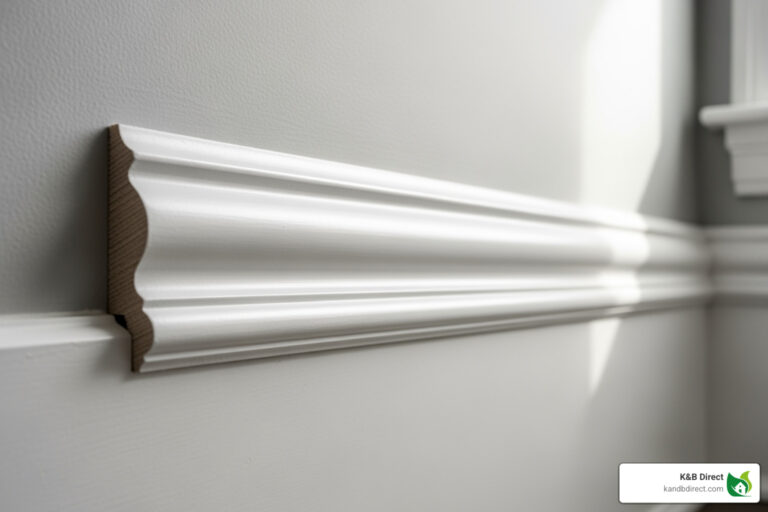
Painted crown moulding is an affordable way to add elegance and value to any room. It can make trim appear more expensive, create a polished look, and even help rooms feel taller and more refined.
Quick Guide to Painted Crown Moulding:
- Best Paint Finish: Semi-gloss or satin for durability and easy cleaning.
- When to Paint: Before installation for best results, after for touch-ups.
- Essential Tools: Angled brush, painter’s tape, primer, fine-grit sandpaper.
- Pro Tip: Paint the wall space between crown and other trim the same color to create a “bulkier” look.
As one interior design expert put it: “Who doesn’t love a good hack? Today I’ve got the best crown molding hack you didn’t even know you needed!” This hack uses paint to make your crown moulding look more substantial and expensive than it is.
The key to professional results lies in proper preparation, choosing the right paint, and understanding when to paint. Hand-painting is great for beginners, while spray-painting can speed up larger projects.
I’m Eryk Piatkowski, owner of K&B Direct. For over ten years, we’ve helped homeowners create beautiful spaces with quality products. I’ve seen how properly painted crown moulding can completely transform a room’s appearance and perceived value.
Key terms for painted crown moulding:
Why Paint Your Crown Moulding? The Impact on Your Space
Painted crown moulding can completely transform how a room feels. It’s not just about making things look nice; it’s about creating a space that feels intentionally designed and thoughtfully finished.
Painting your crown moulding completes the look between your walls and ceiling. Unpainted moulding can feel unfinished, but a coat of paint creates a cohesive, polished look that suggests professional design.
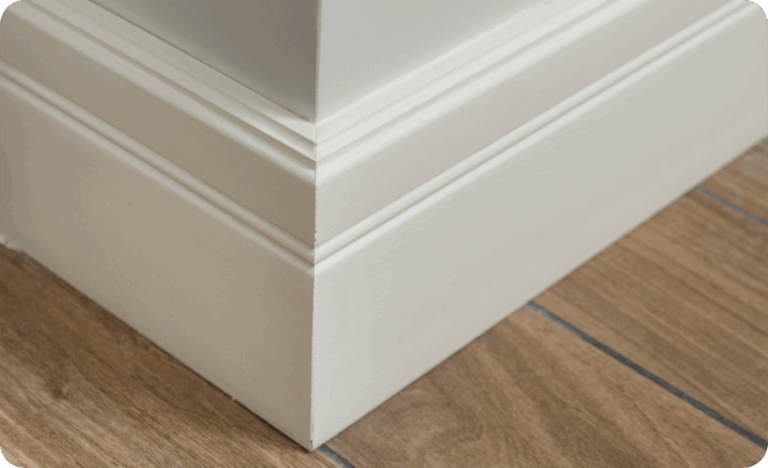
A key benefit is that painted crown moulding makes your trim look more expensive. A simple piece of MDF moulding, once painted, can easily pass for costly custom millwork. It’s a smart upgrade that lifts your room without breaking the bank.
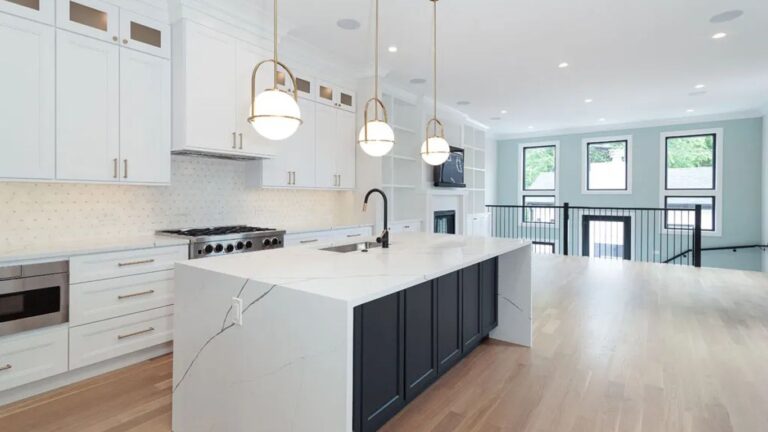
Painted crown moulding also affects how we perceive a room’s proportions. It can make a room appear taller, especially with contrasting colors or by matching the moulding to the ceiling. Our eyes follow the painted lines upward, creating an optical illusion of height. This trick is especially effective in homes with standard 8-foot ceilings, making them feel more spacious and airy.
Beyond visual benefits, painting lets you personalize your space. Whether you choose crisp white for a classic look, match your wall color for a modern feel, or go bold with an accent color, you make the space uniquely yours.
This upgrade also adds genuine perceived value to your home. Potential buyers notice these finishing touches, which signal quality and attention to detail.
More info about our Crown Moulding selection.
Preparation is Key: Tools, Paint, and Priming
The secret to a great paint job is preparation. Rushing this stage is the most common DIY mistake. Taking the time to prep your painted crown moulding will save you headaches and deliver professional-looking results.
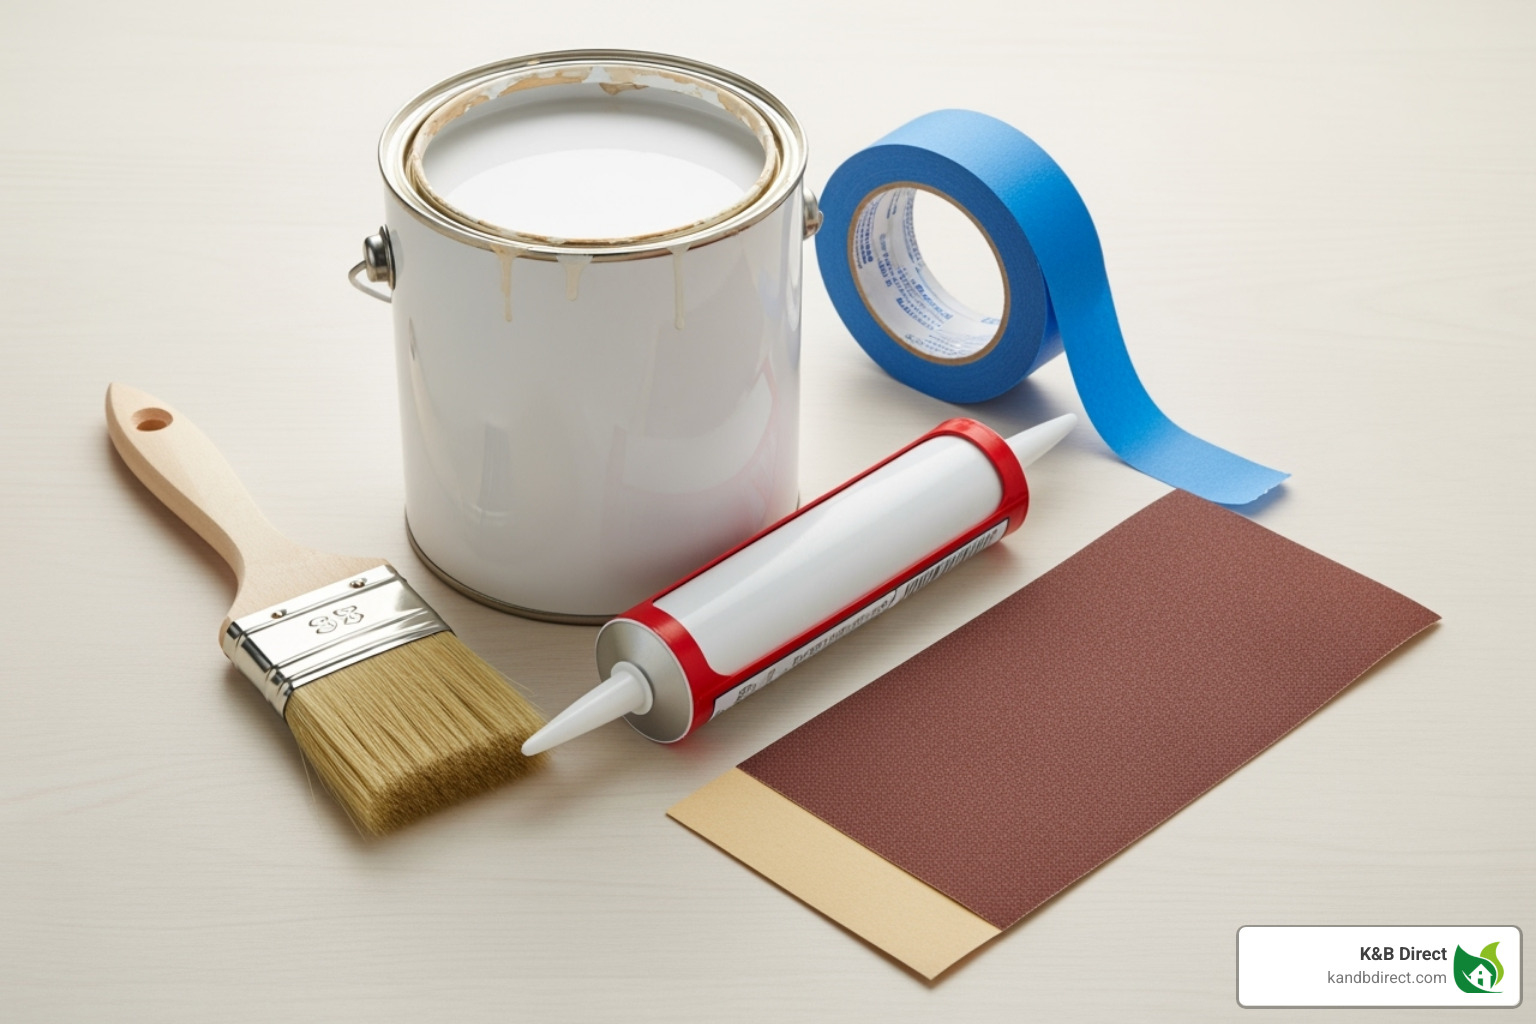
Gathering Your Tools and Materials
To avoid extra trips to the hardware store, gather these essentials:
- High-quality angled sash brush (2-inch or 2.5-inch): Worth the investment for crisp lines and no lost bristles.
- Painter’s tape: Crucial for painting after installation. Good quality tape won’t damage your walls.
- Paintable caulk: The secret to a seamless, built-in look.
- Fine-grit sandpaper (120-220 grit): For smoothing surfaces and ensuring paint adhesion.
- Primer: Essential for any bare or previously painted surfaces.
- Wood putty: For filling nail holes and imperfections.
- Drop cloths, tack cloth, and small artist’s brushes for details.
Choosing the Right Paint and Finish
The right paint and finish determine the look and durability of your painted crown moulding.
For paint type, latex (water-based) paint is the best choice. It cleans up easily, dries quickly, and doesn’t yellow over time like oil-based paints.
For the finish, satin offers a subtle, durable sheen. Semi-gloss is the most popular choice for trim, providing a beautiful shine that contrasts with wall paint and is very easy to clean. A gloss finish is highly durable but unforgiving, as it highlights every imperfection. For most projects, semi-gloss is the perfect balance. Our Crown 47 looks stunning with a classic semi-gloss finish.
Prepping Your Crown Moulding for Paint
Proper prep work is what separates pros from amateurs. Start by cleaning your moulding with a mild cleaner to remove dust and grime, then let it dry completely.
Next, lightly sand the surface with fine-grit paper to help the new paint adhere. Wipe away all dust with a tack cloth.
Fill any holes or imperfections with wood putty, and sand those spots smooth once dry. Then, caulk any gaps between the moulding and the wall or ceiling with paintable caulk for a seamless look.
Priming is non-negotiable for bare wood or MDF. It seals the surface and ensures a uniform topcoat. Use a bonding primer if you’re painting over old oil-based paint. To save time, consider pre-primed options like our Crown 49, which arrives ready to paint.
The Great Debate: Painting Before or After Installation?
Should you paint your painted crown moulding before or after it’s installed? There’s no single right answer; the best choice depends on your project. Both methods can yield beautiful results.
Painting Before Installation: The Pro’s Choice
For new crown moulding, painting before installation is the preferred method for most professionals. It’s simply easier.
- Complete Access: With the moulding on a workbench, you can easily reach every angle without craning your neck.
- No Taping Required: You save hours by not having to tape off walls and ceilings.
- Ideal for Spray Painting: This method is a must for spray painting, as it allows for better ventilation and prevents overspray on your walls and furniture.
- Time-Saving: While the paint dries, you can prep the room for installation. Our Crown 530-1049132 works beautifully with this approach.
Painting After Installation: The Touch-Up Method
If you’re repainting existing moulding, you’ll have to paint it after installation. This method also works well for touch-ups.
- Careful Taping: The key to success is carefully taping your walls and ceiling to achieve crisp, clean lines. Don’t rush this step.
- Cutting In: Experienced painters may use a technique called cutting in edges with an angled brush to avoid using tape, but there’s no shame in relying on tape for precision.
- Final Touch-Ups: Even if you paint before installation, you’ll need to do touch-up work. After the moulding is up, you’ll caulk gaps and fill nail holes. This requires a final coat of paint over the caulk and putty to ensure a perfect match.
The method matters less than your commitment to quality prep work and careful painting. Either way, you can achieve beautiful painted crown moulding.
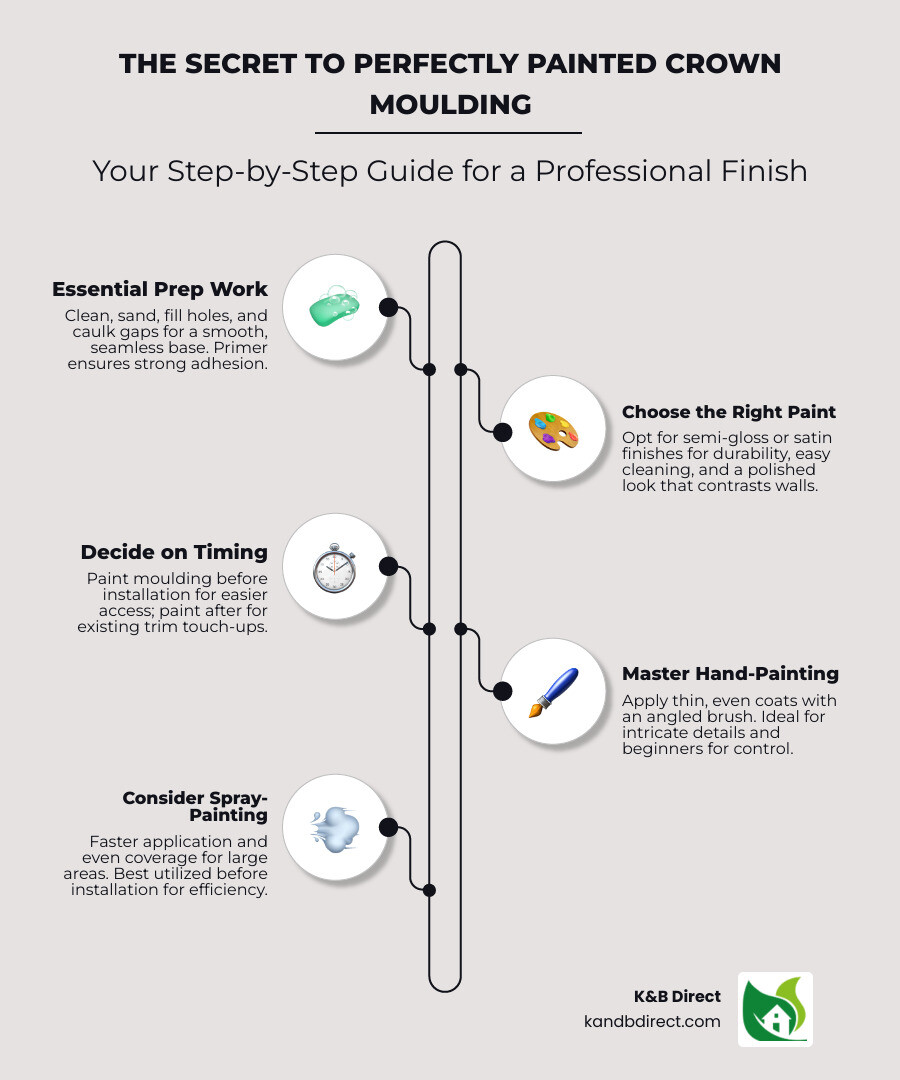
Your Step-by-Step Guide to Perfectly Painted Crown Moulding
There are two primary methods for applying paint to crown moulding: hand-painting and spray-painting. Both can yield excellent results, depending on your tools and experience.
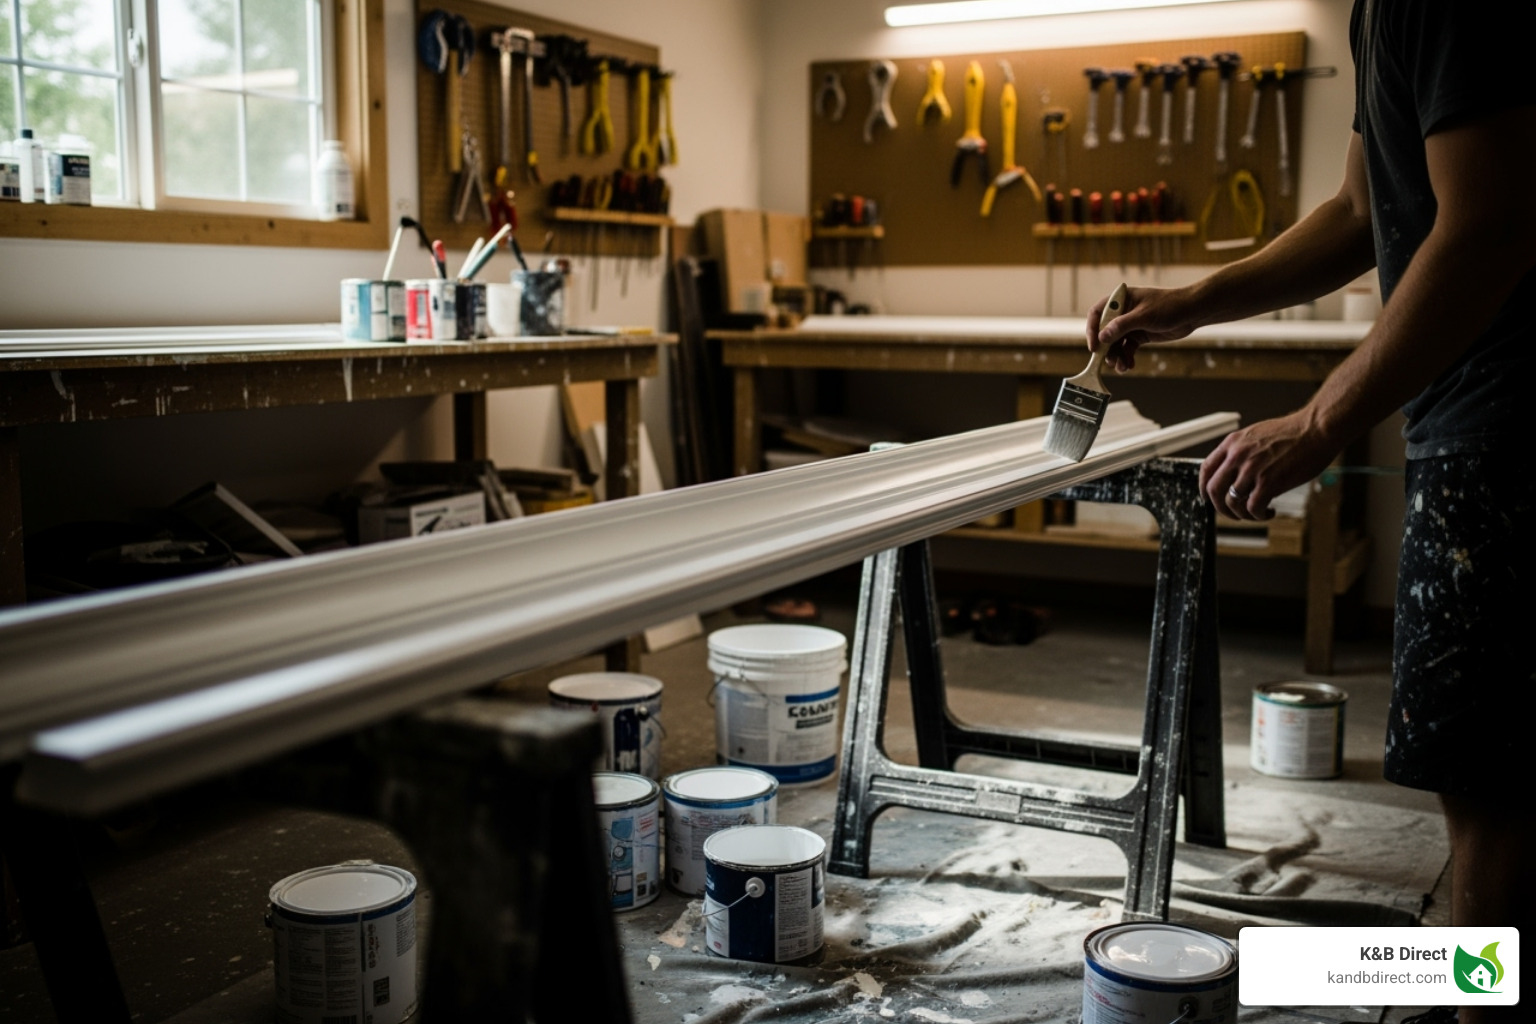
Method 1: How to Hand-Paint Crown Moulding
Hand-painting is accessible, offers great control, and is a fantastic option for most DIYers. It requires fewer specialized tools and often dries faster than spray paint.
- Stir Paint Thoroughly: Stir your paint well to ensure the color and consistency are uniform.
- Load Your Brush: Dip about one-third of your angled brush into the paint and tap off the excess. Avoid overloading the brush to prevent drips.
- Apply with Long, Even Strokes: Paint with long, smooth strokes, ensuring you cover all visible details and grooves.
- Work in Sections: Paint in manageable sections, maintaining a “wet edge” to prevent lap marks where sections meet.
- Apply Thin, Even Coats: It is always better to apply two or three thin coats than one thick coat, which can cause runs and drips.
- Allow Proper Drying Time: Follow the manufacturer’s recommendations for drying time between coats to avoid a sticky finish.
- Detail Work: For intricate designs like our Crown PL700, use a small artist’s brush to get into tight crevices.
Method 2: How to Spray-Paint Crown Moulding
Spray painting is faster for experienced painters and provides a smooth, factory-like finish, but the paint may take longer to fully cure.
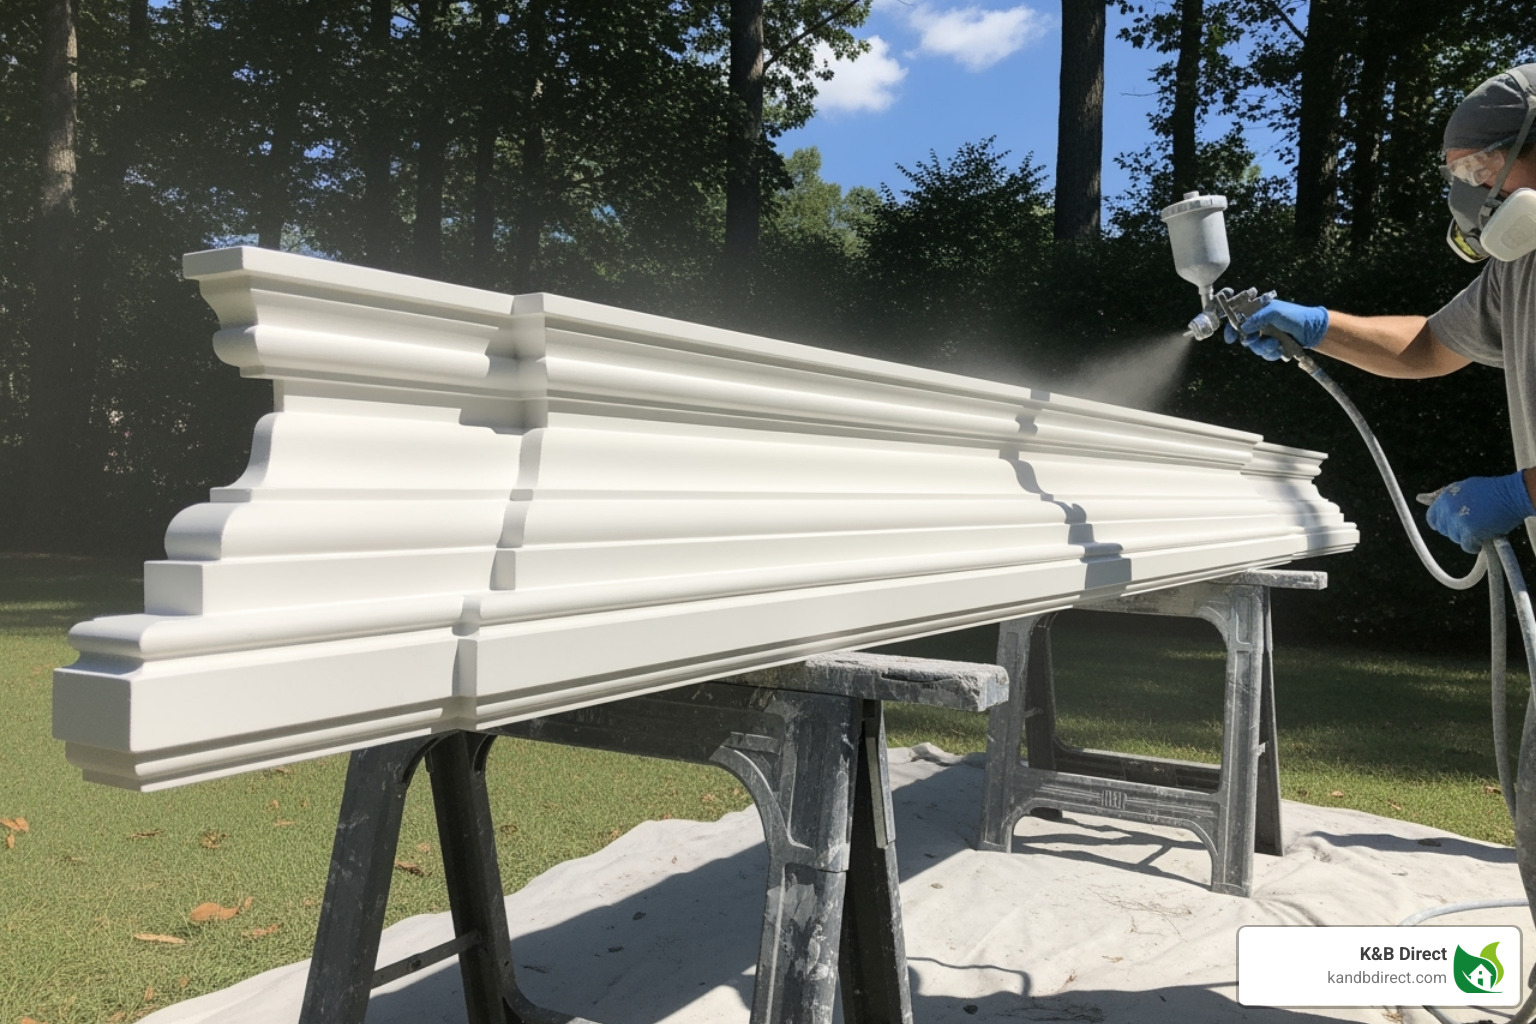
- Best Done Before Installation: Spray painting is best done before installation in a well-ventilated area to avoid overspray. Always wear a mask.
- Shake the Can Well: Shake aerosol cans for at least a minute. If using a sprayer, thin the paint according to the manufacturer’s instructions.
- Apply in Thin, Steady Strokes: Hold the can or gun 6-12 inches from the surface and apply paint in thin, overlapping strokes. Keep the can moving to prevent drips.
- Don’t Over-Apply: The first coat may look light. Resist the urge to apply a heavy layer; multiple thin coats are key.
- Allow Coats to Dry Completely: Spray paint can feel dry to the touch quickly, but it takes longer to fully cure. Be patient between coats.
- Paint All Sides: Ensure you cover all visible sides and details for a professional look.
Whether you hand-paint or spray-paint, patience and thin coats are essential for a perfect painted crown moulding finish.
Pro Tips and Common Mistakes to Avoid
Mastering a few professional tricks and avoiding common pitfalls will ensure your painted crown moulding looks flawless.
Achieving a Flawless, Professional Finish
- The “Crown Moulding Hack”: If you have another trim piece below your crown moulding, paint the wall space between them the same color as the trim. This simple trick makes the moulding look much bulkier and more expensive, and it draws the eye upward to make the room feel taller.
- Use Quality Brushes: A good angled sash brush is a worthwhile investment. It provides better control, creates smoother lines, and won’t leave bristles in your paint.
- Paint Over Your Caulk: Even white caulk can have a different sheen than your paint. Painting over it creates a truly seamless, professional look.
- Maintain a Wet Edge: When hand-painting, overlap your strokes on a wet edge to prevent lap marks and ensure a smooth, even finish.
For more inspiration, check out More design ideas from Home Glow Design.
Common Mistakes When Painting Crown Moulding
Avoid these common errors for a better result:
- Skipping Prep Work: Cleaning, sanding, and caulking are mandatory for a durable, professional finish. Paint won’t adhere properly to an unprepared surface.
- Applying Paint Too Thickly: This causes drips, runs, and an uneven finish. Always apply multiple thin coats instead of one thick coat.
- Not Using Primer: Bare wood or MDF requires primer to seal the surface and ensure a uniform topcoat. It’s also essential when painting over old oil-based paint.
- Using the Wrong Paint Finish: Crown moulding needs the durability of a semi-gloss or satin finish. These sheens contrast nicely with flatter wall paints and are easy to clean.
- Visible Drips and Brush Strokes: These are caused by overloading your brush or rushing. Take your time, and wipe up drips immediately.
- Not Caulking Gaps: Fill gaps between the moulding and the wall with paintable caulk before your final coat for a seamless, finished appearance.
- Ignoring Drying Times: Rushing between coats can ruin your finish. Always follow the manufacturer’s recommendations.
Frequently Asked Questions about Painted Crown Moulding
Here are answers to the most common questions we receive about painted crown moulding.
What paint finish is best for crown moulding?
Semi-gloss or satin finishes are the best choices. They offer excellent durability, are easy to clean, and their subtle sheen creates a beautiful contrast with flatter wall paints. A gloss finish is also durable but tends to highlight every imperfection, so it’s best avoided unless your surfaces are flawless.
Should I paint my crown moulding the same color as the walls or the ceiling?
This depends on the look you want to achieve:
- Classic Look: Paint the moulding a crisp white or off-white to match your other trim (baseboards, door frames) for a cohesive, timeless feel.
- Modern Look: Paint the moulding the same color as the walls but in a higher sheen (e.g., semi-gloss moulding on matte walls). This creates a sleek, monochromatic look while still defining the architecture.
- Taller Ceilings: Paint the moulding the same color as your ceiling. This tricks the eye into seeing a taller, more spacious room.
How do you paint intricate or detailed crown moulding?
For detailed moulding, a high-quality, 2-inch angled sash brush is essential for working paint into crevices. For very fine details, use small artist’s brushes.
Spray painting is the best method for complex designs as it ensures uniform coverage without brush marks. This method works especially well for ornate polyurethane mouldings like our Crown ACR 5-1/4. The key is to work in small sections and be patient, regardless of the method you choose.
Conclusion
Painted crown moulding is a high-impact, low-investment home improvement that adds a polished, professional look to any space. With the right techniques, you can achieve a stunning finish that lifts your entire room.
As we’ve covered, the key to success lies in thorough preparation, choosing the right semi-gloss or satin paint finish, and applying thin, even coats. Whether you paint before or after installation, taking your time and using pro tips—like the hack for making trim look bulkier—will make all the difference.
The beauty of painted crown moulding is its versatility. It works in any style of home and can completely change a room’s personality, whether you opt for classic white or a bold, modern color.
Ready to transform your space? At K&B Direct, we’re passionate about helping you create your dream home with high-quality products at unbeatable prices. Our selection of mouldings provides the perfect foundation for your project.
Explore our full range of mouldings and millwork to find the perfect style for your home.