
A Simple Path to Bathroom Vanity Drawer Replacement
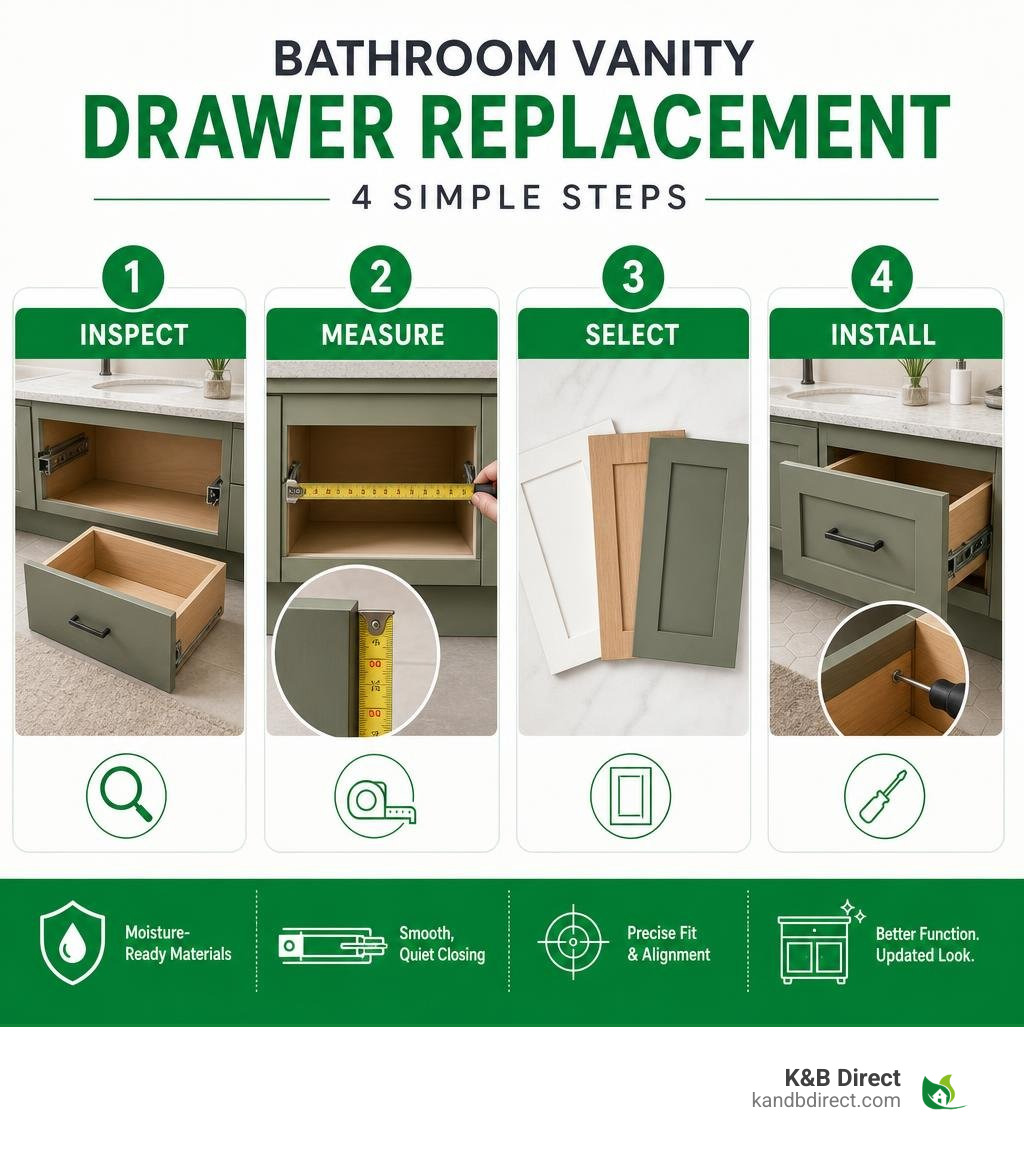
Bathroom vanity drawer replacement often means changing only the drawer front, not the entire drawer. If the existing box is solid and the slides glide smoothly, measure the old front and install a new one; replace the box and slides only when they are swollen, broken, warped, or binding.
- Remove the drawer and inspect the box, front, and slides.
- Measure the opening and existing front to the nearest 1/16 inch.
- Choose a moisture-ready front material and a style that matches the vanity.
- Test-fit, align the reveal around each front, then fasten it from inside the drawer box.
Shaker, slab, and raised-panel fronts can update the vanity face, while plywood drawer boxes and quality soft-close slides improve daily use. Under a sink, plan around supply lines and the P-trap before ordering or building a new drawer.
I’m Eryk Piatkowski, Owner at K&B Direct, where we have helped homeowners and professionals select quality cabinet components since 2011. My experience with bathroom vanity drawer replacement focuses on balancing durable function, proper fit, and a finished look that suits the room.
Basic bathroom vanity drawer replacement terms:
Planning Your Bathroom Vanity Drawer Replacement: Fronts, Boxes, and Materials
When updating existing bathroom vanities, choosing the right build materials ensures our cabinetry withstands high humidity. Bathrooms experience extreme moisture swings, with relative humidity jumping from 40% up to 80% after a hot shower. Standard particleboard can quickly swell and degrade under these conditions.
| Material | Moisture Stability | Structural Strength | Recommended Application |
|---|---|---|---|
| Baltic Birch Plywood | Exceptional (Multi-ply cross-grain) | High tensile strength | Drawer boxes & heavy storage |
| Hard Maple | Moderate (Requires complete sealing) | Exceptional hardness | Dovetail boxes & painted fronts |
| Paint-Grade MDF | High (When fully sealed) | Uniform density | Slab & Shaker drawer fronts |
| Rigid Thermofoil (RTF) | Exceptional (Seamless vinyl wrap) | Scratch & water-tight | Humid powder rooms & master baths |
| White Oak | High (Closed cellular structure) | Naturally rot-resistant | Premium natural wood finishes |
Assessing Drawer Fronts vs Full Drawer Box Replacement
Before ordering materials, inspect the sub-front construction. If our drawer slides operate effortlessly and the internal joinery remains aligned, updating only the decorative front provides substantial savings. Swapping visible faces takes a fraction of the time needed to rebuild entire internal cavities.

When inspecting our cabinetry, examine false drawer panels beneath the sink. These dummy fronts frequently secure to the face frame via plastic retention clips. We can remove these clips and fasten them directly onto new replacement panels. However, if the drawer bottom sags or the side joinery separates, upgrading the entire drawer box becomes necessary.
Best Moisture-Resistant Materials for Bathroom Vanity Drawer Replacement
Selecting stable materials prevents wood movement and sticking drawers. Solid hardwoods expand tangentially when absorbing ambient moisture. High-grade Baltic birch plywood offers superior dimensional stability for box construction because alternating veneer layers cancel out internal tension.
For decorative faces, paint-grade high-density MDF and rigid thermofoil (RTF) resist grain bleed and surface cracking. Those interested in crafting durable vanity drawers often rely on multi-ply birch for box components, as dense multi-ply cores hold fasteners firmly even under daily strain.
Selecting Drawer Front Styles and Hardware Slides
Drawer fronts establish the design aesthetic of the room:
- Shaker Style: Features a recessed center panel with classic 2-1/4 inch stiles and 1-1/2 inch rails for a timeless profile.
- Slab Style: Presents a clean, modern flat panel that wipes down effortlessly.
- Raised Panel: Adds traditional dimension and architectural depth to vanity cabinetry.
Pairing these faces with reliable hardware ensures smooth operation. Undermount soft-close slides preserve cabinet joinery by preventing harsh slamming, supporting loads between 75 and 100 pounds while concealing mechanical runners beneath the box. Side-mount ball-bearing slides offer dependable full-extension access for narrower pullouts.
Essential Tools and Precision Sizing for Vanity Drawers
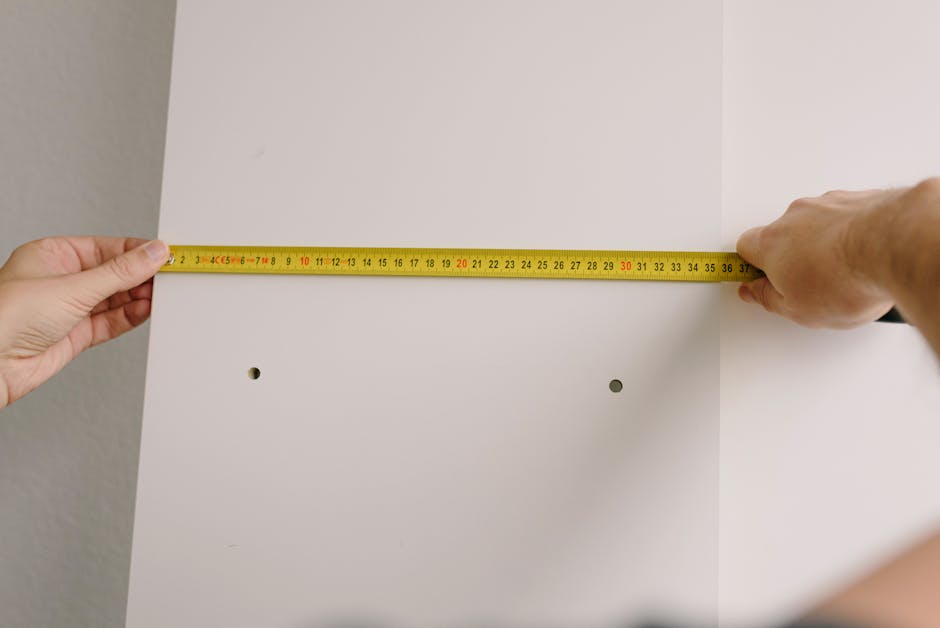
Accurate measurement ensures replacement components slide into place without binding against cabinet face frames.
Key items for this project include:
- Precision steel measuring tape
- Torpedo level
- Heavy-duty bar clamps
- Cordless drill driver with countersink bits
- Rigid hardware alignment template
- Spacers and shims
Accurate Measuring for Bathroom Vanity Drawer Replacement
Take interior cabinet measurements to the nearest 1/16 inch across multiple positions:
- Opening Width: Measure between the inside edges of the face frame at the top, middle, and bottom. Record the narrowest dimension.
- Opening Height: Measure vertically from the bottom rail to the top rail on both left and right sides.
- Internal Depth: Measure from the back face of the front frame to the rear interior wall, ensuring clearance for plumbing pipes.
- Hardware Clearances: Standard side-mount slides require 1/2 inch clearance on each side (1 inch total width deduction). Undermount slides typically require 3/16 inch clearance per side (3/8 inch total deduction).
Check drawer box diagonals during assembly. If corner-to-corner measurements vary by more than 1/16 inch, adjust the box before the wood adhesive sets.
Working Around Under-Sink Plumbing and P-Traps
The central plumbing cavity beneath a sink often leaves only 8 to 10 inches of usable width on either side of the drain assembly. Rather than leaving this space empty, homeowners can reclaim storage by building custom cabinet pullouts or installing U-shaped drawer boxes that curve around the P-trap.
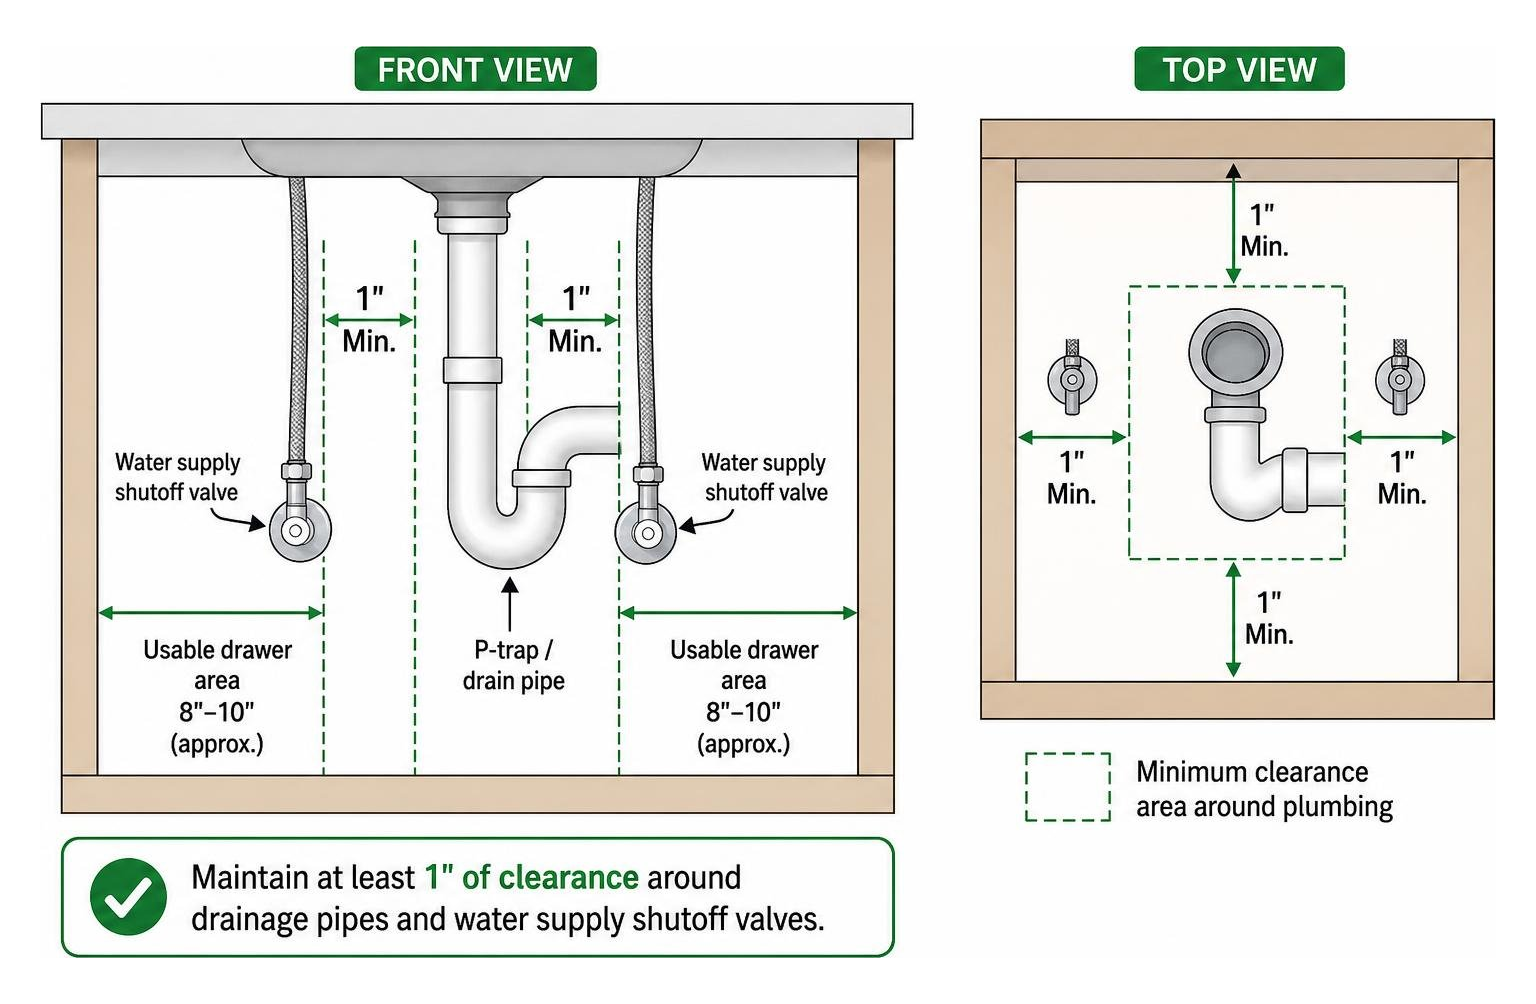
A tailored pullout drawer utilizes up to 85% of available under-sink storage space, compared to roughly 40% achieved with standard freestanding baskets. Maintain at least 1 inch of clearance around drainage pipes and water supply shutoff valves.
Step-by-Step Guide to Installing Replacement Vanity Drawers
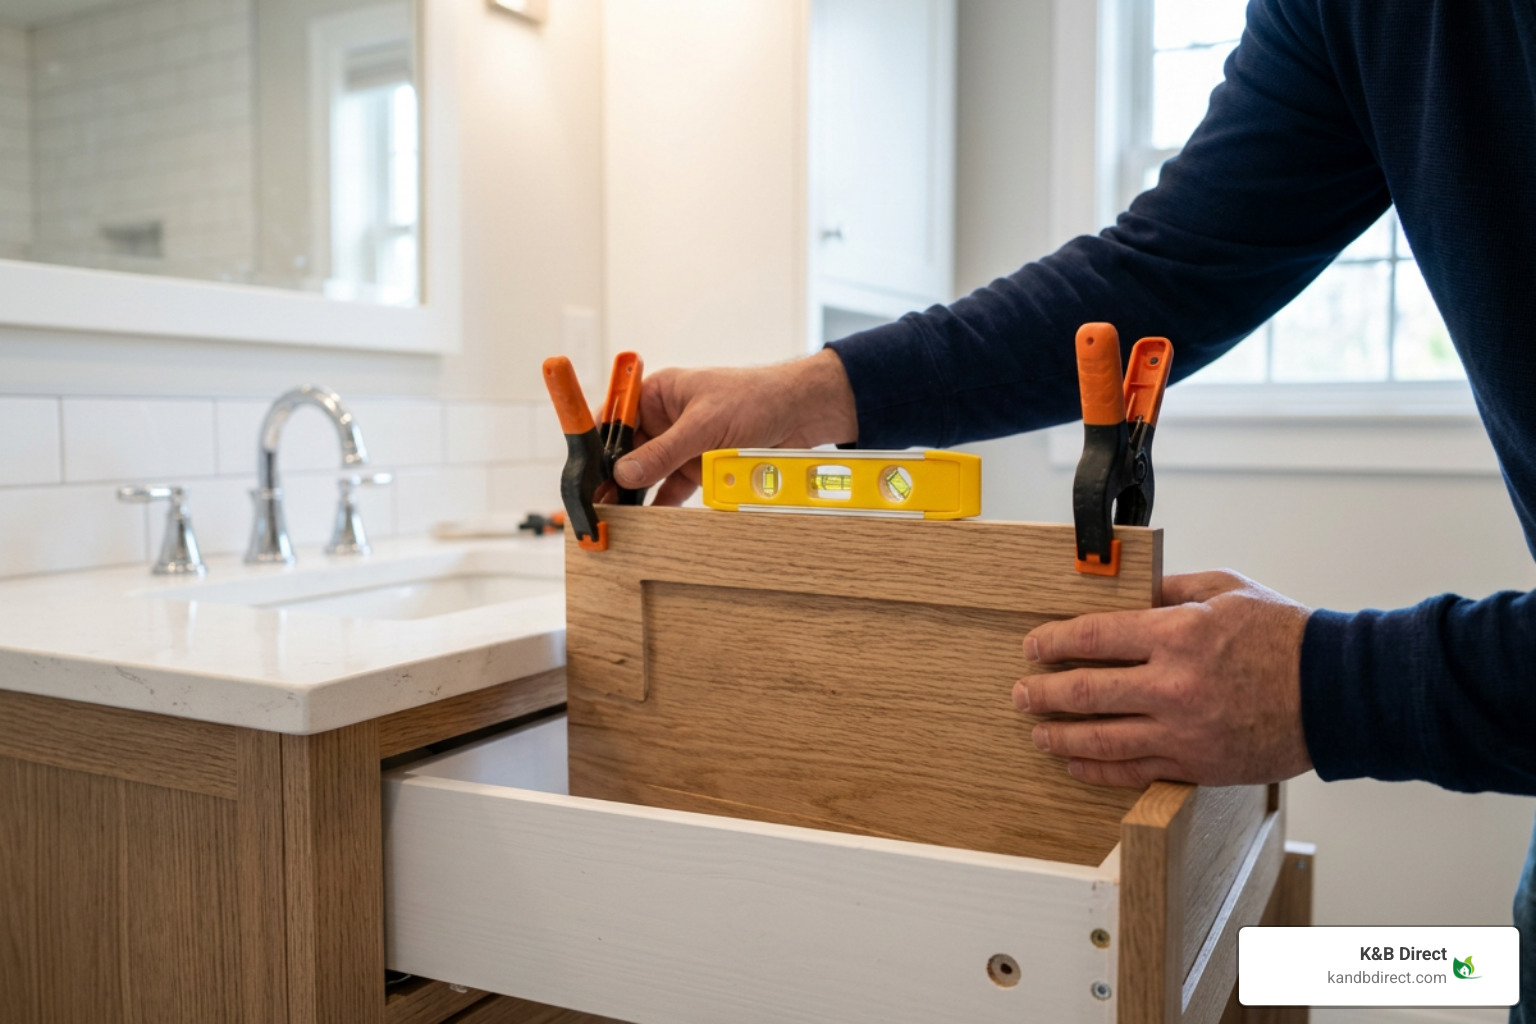
Upgrading vanity components follows an orderly sequence. Homeowners seeking full room transformations can also explore our professional cabinet installation service for complex layouts.
Removing Old Drawer Fronts and Glides
- Extend the drawer fully and depress the release levers on the side slides to disengage the box from the cabinet.
- Back out the interior mounting screws located along the inside sub-front panel to detach the decorative front face.
- Pry off any false sink front panels gently using a putty knife to release the plastic clips from the frame.
- Unscrew the old metal runners from the cabinet interior and vacuum out accumulated debris.
Mounting Slides and Positioning Drawer Boxes
- Fasten internal spacer brackets to the cabinet interior walls if working with face-frame cabinetry. This ensures the slide clears the face-frame lip.
- Align the cabinet-side slides using a torpedo level, setting them parallel and setback roughly 1/16 inch from the front frame edge.
- Attach undermount locking clips or side rails to the replacement drawer box.
- Slide the drawer box onto the runners until the locking mechanisms click, then test for smooth, level travel.
Aligning and Fastening New Drawer Faces

- Apply heavy-duty double-sided mounting tape to the front surface of the installed drawer box.
- Position the new drawer front against the box, maintaining an even 1/8-inch perimeter reveal around all edges.
- Press firmly to seat the tape, then slide the drawer open carefully.
- Secure heavy-duty bar clamps around the front and sub-front to prevent shifting.
- Drive wood screws from inside the drawer box through the sub-front into the thickest perimeter sections of the new front face.
- Drill hardware mounting holes using a rigid template and install decorative handles or knobs.
Sealing, Painting, and Maintaining Bathroom Vanity Drawers
Bathrooms subject millwork to frequent steam, splashes, and temperature swings. Protecting new components requires proper finishing techniques:
- Vapor Barrier Topcoats: Apply three to four coats of water-based polyurethane to unfinished wood boxes, sealing end grain thoroughly to prevent moisture absorption.
- Cabinet Enamel Application: Use self-leveling urethane-acrylic enamel with high-density foam rollers on MDF and hardwood faces to produce a smooth surface without brush marks.
- Between-Coat Buffing: Smooth intermediate paint coats lightly using ultra-fine steel wool to eliminate surface imperfections.
- Slide Lubrication: Wipe drawer slide ball bearings clean and apply a thin film of white lithium grease every six months to ensure effortless glide.
- Moisture Management: Ensure the bathroom exhaust fan runs during and after showers to keep ambient relative humidity balanced.
Frequently Asked Questions About Bathroom Vanity Drawers
What are the main benefits of updating drawer fronts instead of the whole vanity?
Updating drawer faces and doors refreshes the room’s appearance while preserving structurally sound base cabinets. Replacing front components revitalizes the aesthetic at a fraction of the expenditure required for full vanity tear-outs.
Can I replace vanity drawer fronts without replacing the drawer box?
Yes. Most residential cabinets utilize independent decorative fronts secured to an internal sub-front box with wood screws. As long as the box joinery remains true and the slide hardware glides smoothly, you can unscrew the old face and mount a new one.
What are the best drawer slides for humid bathrooms?
Heavy-duty full-extension undermount slides with integrated soft-close mechanisms represent the premier choice. Undermount hardware protects steel ball bearings beneath the drawer box, shielding mechanisms from moisture exposure while providing quiet operation.
Conclusion
Upgrading worn vanity components transforms daily routines and restores organization to master bathrooms and powder rooms across Chicago, Schiller Park, Des Plaines, and surrounding communities. By choosing moisture-resistant Baltic birch boxes, dependable soft-close slides, and stylish Shaker or slab fronts, we ensure our cabinetry stands up to daily use for years to come.
Explore our complete selection of premium kitchen cabinets and bathroom storage solutions at K&B Direct to begin designing your dream space today.