
Quarter Round Molding Covers Flooring Gaps Cleanly
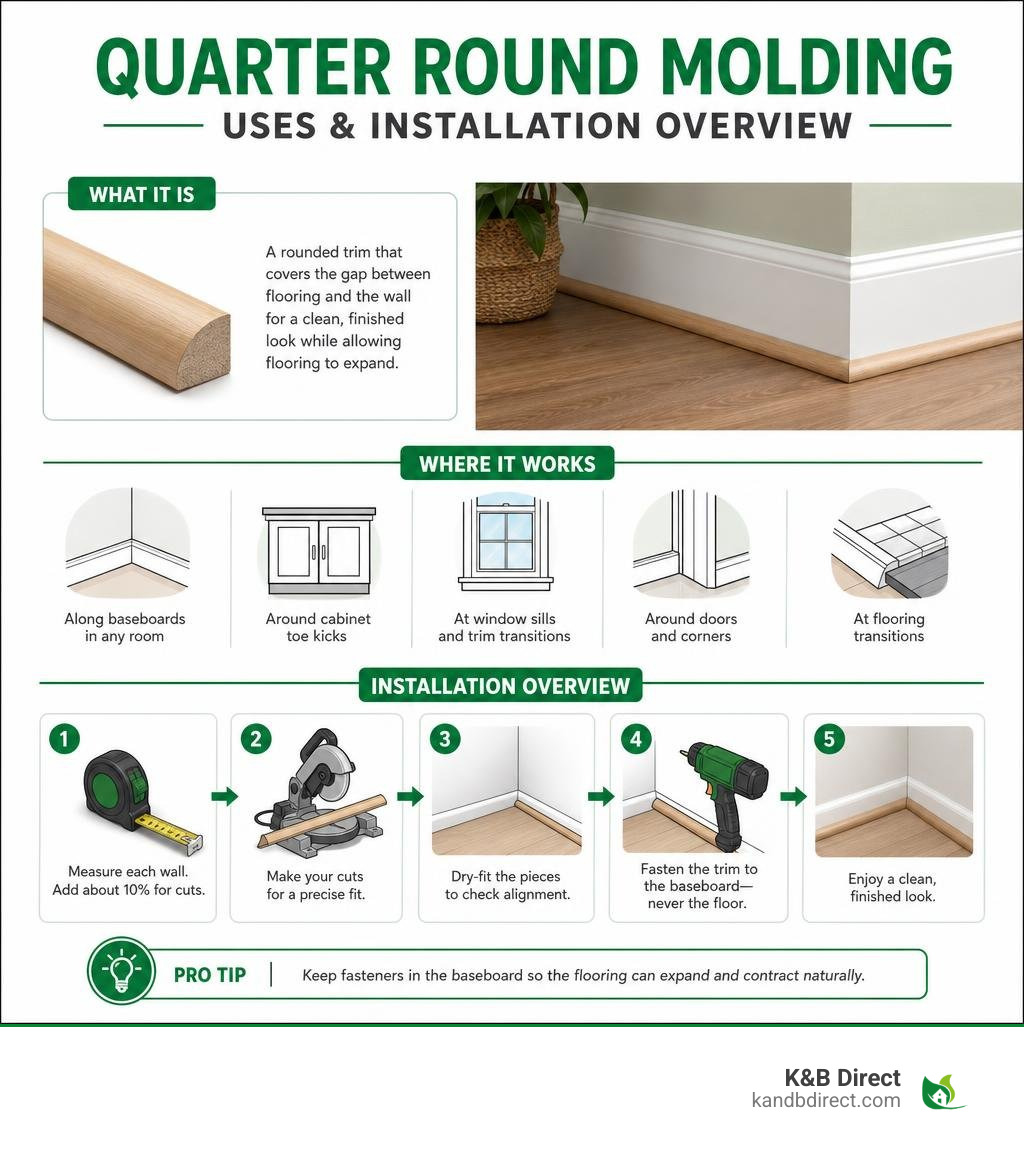
Quarter round molding is a small, rounded trim installed along the bottom of a baseboard to cover the gap between flooring and the wall. It creates a finished edge while leaving room for wood or laminate flooring to expand. Measure each wall, add about 10 percent for cuts, dry-fit the pieces, then fasten the trim to the baseboard – never the floor.
It is often confused with base shoe molding. Both conceal flooring gaps, but quarter round has an equal-height-and-depth curved profile, while shoe molding is usually slimmer and less rounded. Quarter round also works around cabinet toe kicks, window sills, and other small trim transitions.
I’m Eryk Piatkowski, owner of K&B Direct, where I have helped homeowners and renovators select trim, cabinets, and finishes since 2011, including quarter round molding for polished floor edges. This guide covers the materials, cuts, and finishing details that make this small trim piece look intentional.
Discover more about quarter round molding:
What Is Quarter Round and Why Do Floors Need It?
When new floors are laid, installers intentionally leave an expansion perimeter around the outer edges of the room. Materials such as solid timber, engineered planks, and laminate react continuously to shifting indoor humidity, expanding in warm months and contracting in cool weather as detailed in standards for hardwood flooring. Without that perimeter margin, expanding boards press directly into drywall and buckle upward.

Baseboards alone do not always hide these wide gaps, particularly when older plaster walls are uneven or new planks sit lower than previous carpeting. Installing base trim bridges that space seamlessly, ensuring a tidy visual border while preserving structural flexibility. For a deeper look at pairing vertical profiles with horizontal finishes, explore The Ultimate Guide to Molding and Baseboards.
Quarter Round Molding vs. Base Shoe Molding: Key Differences
While both profiles cover perimeter gaps, their dimensions serve different architectural spaces:
| Feature | Quarter Round | Base Shoe Molding |
|---|---|---|
| Cross Section | True 90-degree quarter circle | Slender, elongated vertical oval |
| Typical Dimensions | 3/4 inch by 3/4 inch | 1/2 inch wide by 3/4 inch tall |
| Projection Depth | Extends further outward into the floor area | Sits flatter against the upright board |
| Primary Advantage | Covers wide expansion gaps up to 5/8 inch | Fits narrower spaces without crowding floor area |
A classic quarter round has equal width and height, creating a prominent curved transition. In contrast, base shoe profiles are thinner, which makes them ideal when flooring gaps are modest and you want to maintain a minimal profile along fine carpentry.
Common Applications Beyond Flooring Gaps
While most commonly placed along perimeter edges, this curved accent solves transition challenges throughout the home:
- Kitchen Cabinet Toe Kicks: Hides irregular seams where cabinet bases meet luxury vinyl tile or hardwood.
- Countertop Backsplash Seams: Seals small transitions between stone counters and vertical surfaces.
- Stair Risers: Blends the seam between vertical risers and horizontal stair treads.
- Window Sill Transitions: Adds a finished bottom ledge beneath interior window casing.
To see the way these profiles integrate with wider millwork strategies, review our overview of Types of Moulding.
Choosing the Best Materials and Sizes for Your Project
Selecting the proper profile requires balancing moisture resistance, paint choices, durability, and architectural scale. The best option is not only the one that matches your flooring color; it should also suit the room conditions. A powder room, basement, or laundry area often calls for a moisture-resistant material, while a living room with stained baseboards may look best with real wood.
Material Options: Solid Wood, MDF, PVC, and Flexible Trim
- Solid Hardwood and Softwood: Classic Wood Moulding such as pine or oak offers authentic grain for staining and outstanding resilience against vacuum bumps.
- Medium-Density Fiberboard (MDF): Uniform, smooth, and factory-primed, MDF provides a refined surface for painted rooms.
- Polyvinyl Chloride (PVC): Excellent for moisture-prone bathrooms, laundry rooms, and basements. You can check our PVC Base Cap Moulding Guide for insights on handling moisture-resistant synthetic profiles.
- Flexible Silicone Rubber: Peel-and-stick flexible trim bends easily around curved walls, round columns, and tight countertop perimeters without demanding complex segmented cuts.
Standard Dimensions and Profile Proportions
Standard profiles measure 3/4 inch by 3/4 inch, providing plenty of coverage for standard floating floor perimeter gaps. For delicate furniture trim or narrow window ledges, ultra-slim 0.25-inch micro profiles offer tidy closure without overwhelming small spaces. Match the projection depth of your trim to the thickness of your existing upright boards so the trim looks balanced. If the baseboard is tall and substantial, a full quarter round often feels appropriate; if the baseboard is slim, a smaller profile may create a cleaner transition.
Essential Tools and Material Preparation
Gathering the proper equipment ensures clean joints and accurate angles:

- Compound miter saw with a fine-finish blade (60+ teeth)
- Tape measure and marking pencil
- Pneumatic 18-gauge brad nailer with 1-1/2 inch brad nails
- Eye protection and ear defense
- Flexible acrylic caulk and color-matched wood filler
- Sanding sponge (120 to 220 grit)
Calculating Total Linear Length and Material Buffer
Measure each wall segment end to end, record the lengths, and add them together. Always add a 10 percent buffer to your total measurement. This overage accounts for 45-degree angle cuts, miter blade kerf waste, and the occasional miscut. For instance, a room with an 80-linear-unit perimeter requires purchasing at least 88 units of material. Accounting for this margin beforehand prevents annoying pauses midway through the installation.
Pre-Finishing: Painting vs. Staining
Painting or staining long trim boards on sawhorses before cutting saves considerable labor. Applying primer and your initial finish coat while boards lie flat prevents drips on new flooring. Once the pieces are fastened, you only need to touch up nail indentations and corner seams.
Step-by-Step Guide: Installing Quarter Round Molding
Careful dry-fitting and precise angles ensure an attractive transition around the entire room.
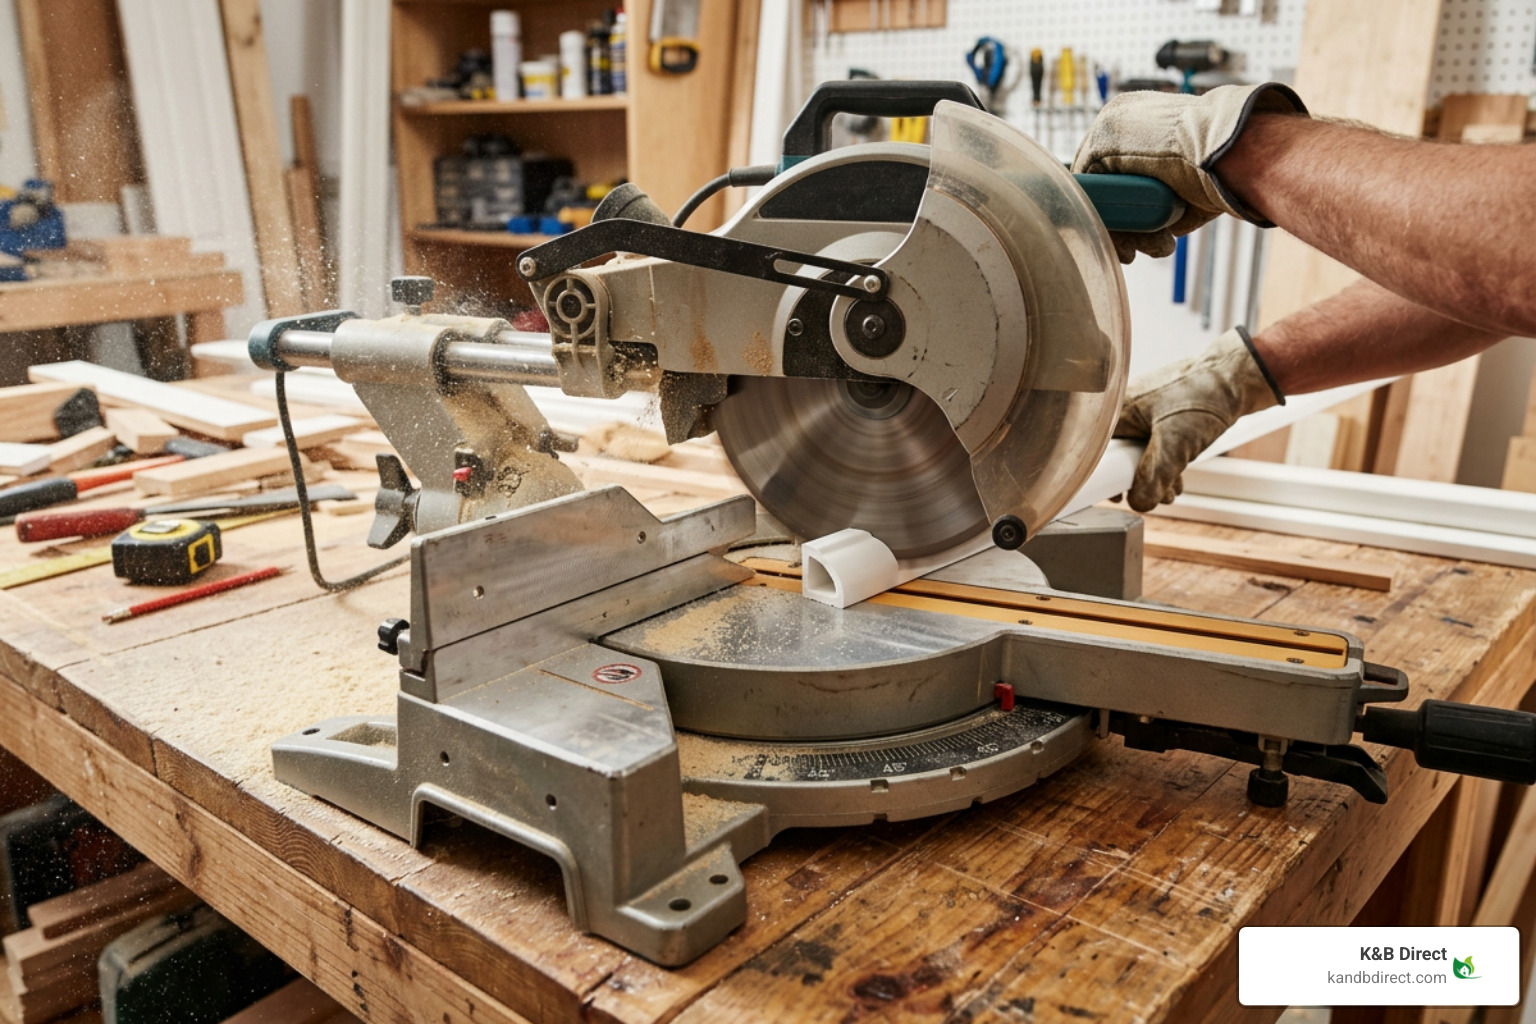
Cutting Quarter Round Molding for Inside and Outside Corners
- Inside Corners (90 Degrees): Cut two opposing pieces at 45-degree angles, with the long point touching the corner and the short face visible in the room.
- Outside Corners (90 Degrees): Cut matching 45-degree angles so the short point touches the corner and the long face extends outward to meet its partner.
- Scarf Joints (Long Straight Runs): When a single wall spans longer than one board length, join two pieces using overlapping 30-degree or 45-degree scarf cuts rather than a straight butt joint. This angled overlap creates a virtually invisible seam once caulked and painted.
Dry-fit every adjoining piece along your Baseboard Trim to confirm tight seams before fastening.
Proper Fastening Techniques and Nailing Angles
Position the trim snugly against both the vertical board and the horizontal floor. Angle your 18-gauge brad nailer upward at roughly 45 degrees, shooting nails directly into the baseboard every 12 to 18 inches.
Never drive fasteners straight down into the flooring. Anchoring trim into the floor locks the planks in place, causing buckling, cupping, or split seams when seasonal humidity shifts.
Caulking, Filling Nail Holes, and Finishing Touches
Conceal small surface blemishes to create a unified appearance:
- Fill every nail indentation with color-matched wood filler and wipe away excess paste.
- Run a continuous bead of paintable acrylic caulk along the upper seam where the trim touches the baseboard.
- Lightly smooth caulk lines with a damp sponge or finger.
- Apply a final coat of matching paint over joints and filled holes for a cohesive finish.
Frequently Asked Questions About Baseboard Trim
Should trim be nailed to the floor or the baseboard?
Fasteners must always anchor into the upright baseboard. Nailing downward into floorboards restricts natural expansion and contraction, which can damage floating or hardwood systems.
Can you install flexible quarter round without nails?
Yes. Flexible silicone rubber trims feature integrated peel-and-stick adhesive backings. These install easily along smooth, clean surfaces on kitchen counters or cabinet perimeters without requiring pneumatic tools.
What is the 10 percent overage rule for trim projects?
Adding 10 percent extra material beyond your calculated room perimeter guarantees you have enough trim to cover angled miter cuts, blade waste, and minor measuring adjustments without running short.
Conclusion
Installing pristine floor trim brings cohesion and charm to any interior renovation. By properly measuring perimeters, selecting moisture-appropriate materials, cutting crisp corner angles, and fastening solely into upright baseboards, you protect your flooring investment while creating timeless appeal.
At K&B Direct, our team takes pride in supplying superior architectural components that bring dream interiors to life across Schiller Park, Chicago, Rosemont, Park Ridge, Franklin Park, River Grove, Norridge, Des Plaines, Elk Grove Village, Bensenville, Schaumburg, Oak Brook, Arlington Heights, Mount Prospect, Elmhurst, Glenview, Oak Park, Niles, and Maywood. Browse our extensive premium baseboard molding and trim selection to find the ideal match for your home today.