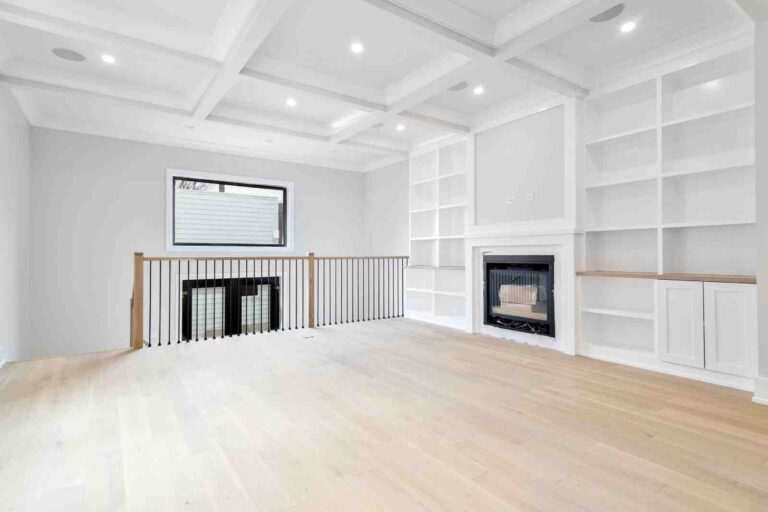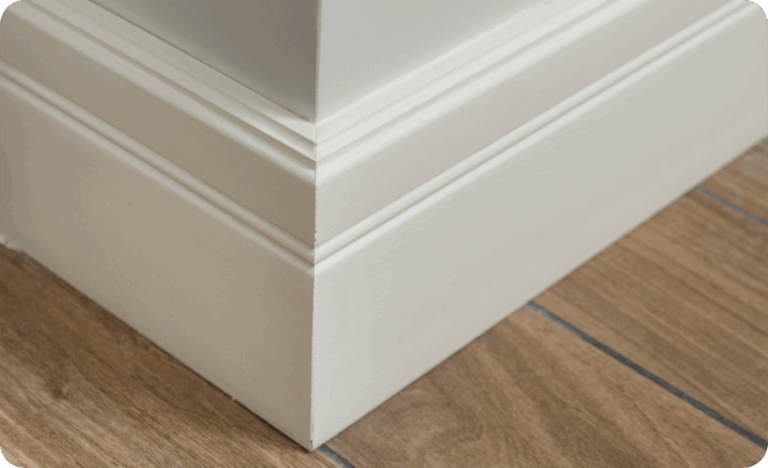
A Clean Start for Vinyl Cove Molding
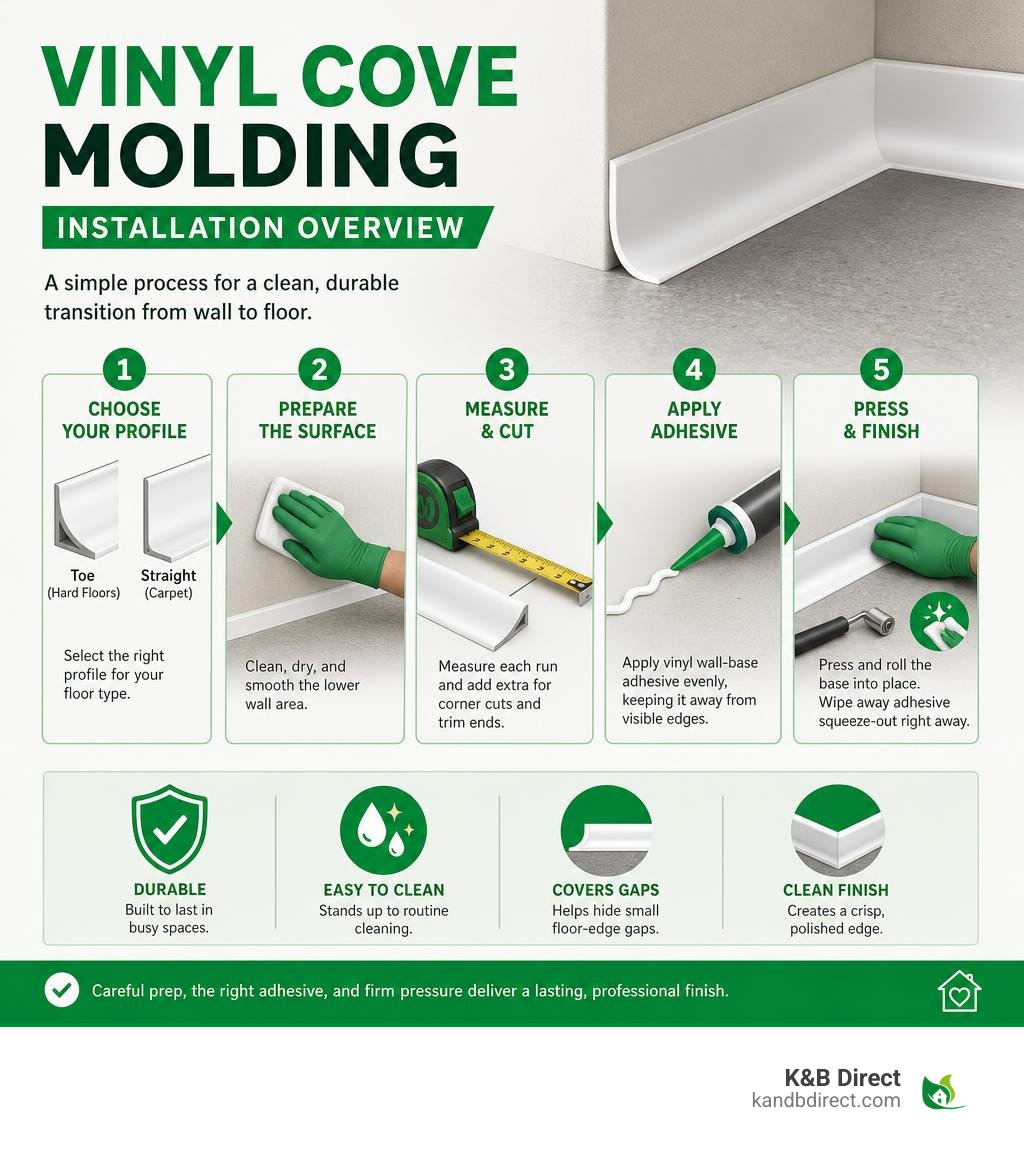
Installing vinyl base cove molding means preparing a clean wall, fitting the vinyl carefully, applying dedicated wall-base adhesive, pressing each strip firmly into place, and finishing corners and seams without stretching the material.
- Choose a cove profile with a toe for hard flooring, or a straight profile for carpet.
- Clean, dry, and smooth the lower wall area before adhesive goes on.
- Measure each run, allowing extra material for corner cuts and trim ends.
- Apply vinyl wall-base adhesive evenly, keeping it away from visible edges.
- Press and roll the base into place, then wipe away adhesive squeeze-out right away.
Vinyl cove molding creates a durable transition between wall and floor. It helps cover small floor-edge gaps, stands up to routine cleaning, and gives kitchens, bathrooms, mudrooms, and similar spaces a crisp finished edge.
I am Eryk Piatkowski, an owner at K&B Direct, where we have helped homeowners plan practical, polished kitchen and bathroom updates since 2011. My experience with installing vinyl base cove molding comes from guiding renovation projects where durable trim, clean lines, and careful material selection matter.
Easy installing vinyl base cove molding glossary:
- adhesive for vinyl baseboard
- baseboard stairs trim transition
- durable vinyl baseboard
Wall and Surface Preparation Before Installing Vinyl Base Cove Molding
Achieving a clean, long-lasting installation starts long before any adhesive touches the wall. When we prepare a space for flexible vinyl trim, our main objective is ensuring maximum adhesive bond and preventing unsightly bubbles, loose edges, or visible telegraphing of wall bumps through the thin material.

Before unpacking materials, inspect the wall substrate thoroughly. The bottom four to six inches of drywall or plaster take the most abuse during everyday living. Scrape away residual joint compound crumbs, mud splatters, old dried paint drips, or former adhesive ridges using a stiff putty knife. Any high spot left on the wall will create a protrusion on the smooth face of your newly installed vinyl molding.
Next, wash the installation zone down using warm water and a mild detergent to eliminate dust, grease, and oil residues that often linger near floor lines. Allow the substrate to dry completely. Moisture trapped behind non-porous vinyl trim cannot evaporate easily, which weakens water-based acrylic adhesives and leads to mold growth or full bond failure over time. For detailed advice on selecting robust wall trim, check out our guide on Vinyl Trim That Wins The Floor War.
| Feature / Aspect | Cove Base (With Toe) | Straight Base (Toeless) |
|---|---|---|
| Bottom Profile | Curved lip/toe expanding outward onto floor | Flat vertical edge resting flush against floor |
| Primary Flooring Match | Luxury vinyl tile, sheet vinyl, ceramic tile, polished concrete | Standard carpet, carpet tile, hardwood |
| Sanitary Seal | Covers floor expansion gaps and repels mop water | Creates a tight flush seam alongside carpet fibers |
| Standard Heights | 2.5 inches, 4 inches, 6 inches | 2.5 inches, 4 inches, 6 inches |
| Common Gauge Thickness | .080 inch (residential) to .125 inch (commercial) | .080 inch (residential) to .125 inch (commercial) |
Profile Selection: Cove Base vs Straight Base
Selecting the correct profile geometry is essential when planning your floor-to-wall transition. Vinyl base molding comes in two primary designs: cove base (featuring a flared bottom lip known as a toe) and straight base (also called toeless trim).
- Cove Base (With Toe): Features a distinctive curved bottom sweep that sits directly on top of hard surface flooring. This curved toe extends outward approximately 1/2 to 5/8 of an inch, covering expansion gaps along the edge of luxury vinyl flooring, ceramic tile, or sheet flooring. The lip directs water away from the wall during routine damp mopping, making it ideal for kitchens, bathrooms, basements, and utility rooms.
- Straight Base (Toeless): Descends vertically straight down without any outward bottom lip. This design is engineered specifically for carpeted rooms. The carpet stretches up and abuts directly against the flat vertical face, providing a clean appearance without compressing carpet pile under a protruded toe.
Temperature Acclimation and Substrate Prep
Vinyl is a thermoplastic material, meaning it expands when warm and shrinks when cool. Installing cold, rigid vinyl trim straight out of an unheated vehicle or storage area virtually guarantees joint separation later when the room warms up.
To ensure long-term stability, follow these surface and temperature prep standards:
- Maintain Temperature Control: Keep the room, the unboxed vinyl molding, and the adhesive between 65 degrees F and 85 degrees F for at least 48 hours prior to installation, during the entire process, and for 48 hours after application.
- Uncoil Coils Early: If using continuous coil rolls, unroll them completely along the floor 24 hours in advance. This allows thermal memory to relax so the trim lays flat without curling back into a tight circle during placement.
- Address Non-Porous Surfaces: Wall base adhesive requires at least one porous surface (such as bare drywall, plaster, or unsealed wood) to wick away moisture and cure correctly. Installing base directly over non-porous surfaces, such as existing vinyl wall coverings or ceramic tile, will prevent the glue from setting.
- Remove Wallpaper: When encountering vinyl wallpaper, scribe a cut line 1/4 inch below the top edge of where your new wall base will sit. Peel away the lower strip of wallpaper to expose raw drywall while ensuring the top lip of the new molding hides the cut line.
Essential Tools, Adhesive Calculations, and Material Fitting
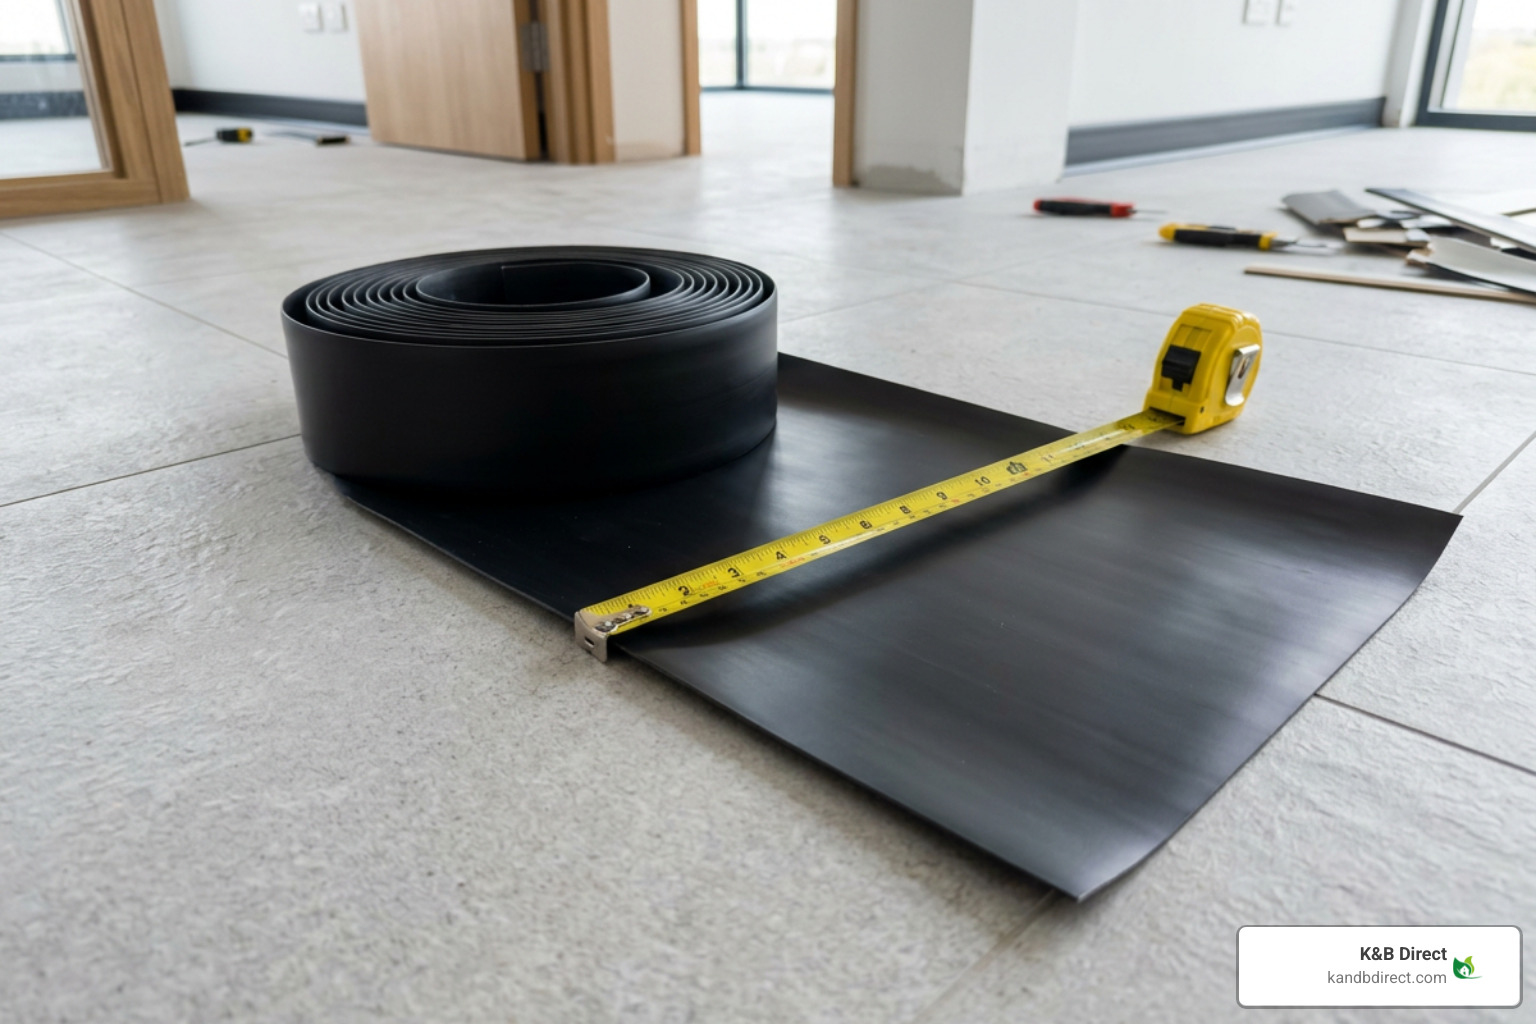
Having the right equipment organized on your work area ensures a smooth workflow when installing vinyl base cove molding. Because cove base adhesive begins setting within 15 to 20 minutes of application, proper preparation prevents unnecessary scrambling.
Gather these key tools and materials before opening adhesive containers:
- Sharp utility knife with heavy-duty replacement blades
- Steel straightedge or angle guide for accurate 90-degree and 45-degree angle marking
- 1/8-inch saw-tooth notched trowel or cartridge caulk gun equipped with a three-hole base nozzle (snozzle)
- Small hand roller or seam roller
- Clean water, sponges, and rags for adhesive cleanup
- Tape measure and chalk line
- Top-set gouge or scoring tool for crafting outside corners
- Low-temperature heat gun for warming thick vinyl profiles
For general cutting techniques across various baseboard materials, explore our overview on baseboard trim profiles.
Measuring and Laying Out Strips for Installing Vinyl Base Cove Molding
Vinyl wall base is supplied in two primary formats: individual 48-inch rigid stick sections or long continuous rolls. Continuous rolls excel on long straight walls because they eliminate mid-wall seams entirely. Stick sections offer convenient handling in smaller spaces with numerous doorways and short wall returns.
When calculating material quantities, measure the perimeter of the room along the floor line and subtract doorway openings. Always add a waste factor of 5% to 10% to account for corner trims, end cuts, and minor measurement adjustments.
Before applying glue, perform a dry fit along the wall run. Position the vinyl strip against the wall with the toe resting comfortably on the floor surface. Verify that the top edge forms a level line. If floor slopes cause uneven gaps, scribe the bottom lip with your utility knife to match the floor contour.
Adhesive Coverage Math for Installing Vinyl Base Cove Molding
Using the right volume of acrylic wall base adhesive guarantees strong initial tack without excessive squeeze-out. Standard construction adhesives or general silicone caulks should be avoided; they lack the specific wet-tack properties required to hold flexible vinyl against wall tension and can chemically bleed through thin trim over time.
To calculate your glue needs accurately, consider these standard coverage yields:
- 30 oz (or 29 oz) Adhesive Cartridges: One cartridge applied with a standard three-bead nozzle covers approximately 60 to 62 linear feet on standard 4-inch baseboard height.
- 1-Gallon Pails: One gallon of acrylic wall base adhesive applied with a 1/8-inch saw-tooth spreader yields roughly 240 to 275 linear feet on 4-inch baseboard height.
- 1-Quart Containers: One quart tube or tub covers approximately 60 linear feet of 4-inch trim.
For additional insight into selecting specialized adhesive formulations, review our detailed guide on adhesive selection for trim projects.
Step-by-Step Straight Wall Application and Corner Crafting
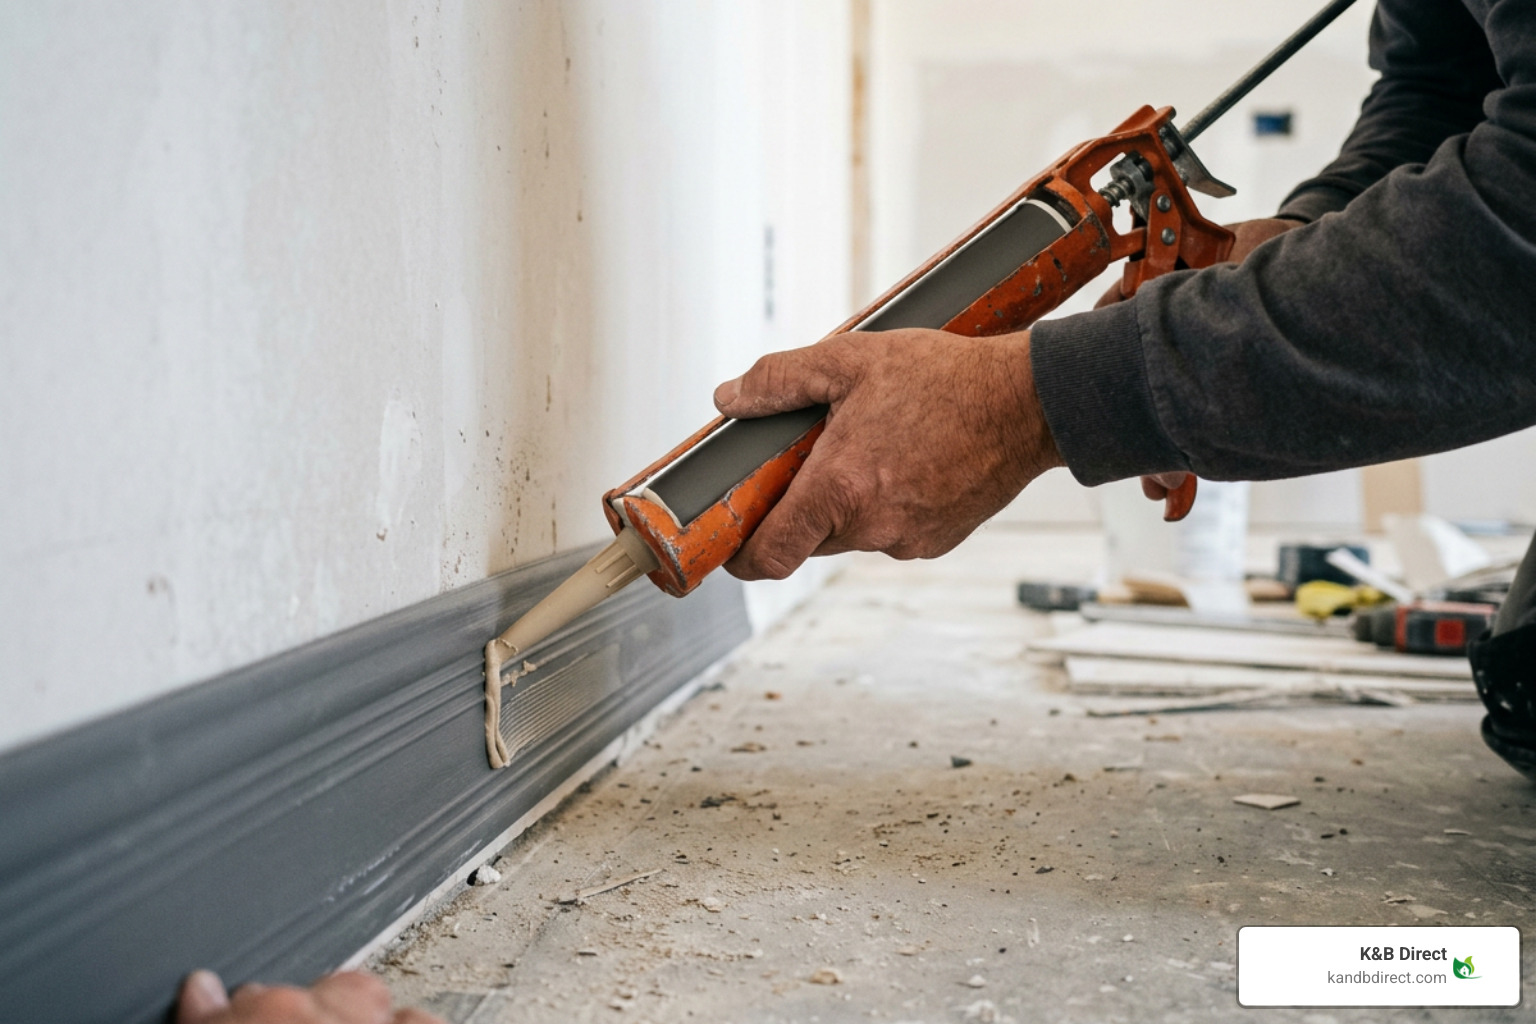
With surfaces cleaned, material acclimated, and adhesive ready, you can proceed to the core installation steps. Applying vinyl wall base to a long straight wall involves systematic spreading, deliberate positioning, and thorough rolling.
Follow this sequence for straight wall runs:
- Apply Wall Base Adhesive: Using a caulk gun with a notched nozzle (or a 1/8-inch notched trowel), spread adhesive onto the back ribbed surface of the vinyl base or directly onto the wall substrate. Keep the adhesive line roughly 1/4 inch away from the top edge and bottom toe. This clearance zone prevents glue from squeezing out onto finished walls or flooring surfaces when compressed.
- Set the Strip into Position: Place the starting end of the strip firmly against your starting point (such as a door casing or corner). Press the base against the wall, advancing down the length. Ensure the bottom toe sits flat against the flooring surface without excessive downward pressure that might buckle the vertical face.
- Roll for Complete Contact: Immediately run a hand roller or seam roller over the installed strip. Roll in the direction toward the previously installed piece or starting point. This backward rolling action pushes trapped air bubbles out and prevents you from stretching the pliable vinyl forward. Achieve at least 90% adhesive coverage across the backing for maximum bond strength.
- Clean Squeeze-Out Immediately: If water-based acrylic adhesive squeezes out along the top lip or bottom toe, wipe it away immediately using a clean rag dampened with warm water. Dried adhesive is significantly harder to remove and can mar the finished vinyl surface.
Executing Clean Inside Corner Joints
Inside 90-degree corners require accurate trimming so the bottom toe lies completely flat without bunching up or leaving hollow voids behind the vertex.
There are two primary professional methods for creating inside corners:
Mitered Toe Method (Recommended for Standard Rooms):
- Dry fit the first vinyl section into the corner, running it all the way into the internal wall junction so it sits tight against both walls.
- On the overlapping second section that meets at the inside corner, use a steel straightedge and sharp utility knife to cut only the bottom toe at a precise 45-degree angle.
- Keep the vertical back face of the second piece straight (cut at 90 degrees) so it butt-joints flat against the vertical face of the first piece, while the mitered bottom toe forms a clean, flush corner junction on the floor.
Backside Relief Score Method (For Continuous Roll Installation):
- Mark the vertical corner line on the back of a continuous vinyl roll.
- Turn the piece face down on a clean wooden scrap board.
- Make a shallow vertical cut through approximately 30% to 50% of the material thickness along the crease line on the back side, being careful not to slice through the front face.
- Cut a small V-notch out of the bottom toe backing directly beneath the vertical score line.
- Fold the strip inward along the score line and press it directly into the 90-degree inside corner.
Gouging and Wrapping Seamless Outside Corners
Outside corners undergo heavy pedestrian traffic, equipment contact, and vacuum impacts. Factory pre-formed outside corner pieces exist, but custom-wrapped corners created from continuous wall base offer a far more seamless, professional finish when installed properly.
To wrap an outside corner without cracking or stress marks, follow these steps:
- Locate and Mark the Corner: Position the vinyl base strip against the wall and mark the exact point where the sharp outside corner edge touches the backside of the trim.
- Gouge the Backing Line: Lay the vinyl trim face down on a flat wooden work surface. Using a top-set gouge or an angled utility knife, remove a narrow strip of material along the vertical mark. Gouge away roughly 30% of the material thickness. This reduces internal compression resistance when the vinyl bends outward.
- Add Stress Relief Gouges in the Toe: On the backside of the bottom toe, cut two small horizontal stress relief slits (about 1 inch long) extending outward from the vertical corner line. This allows the bottom lip to flex outward smoothly around the floor corner without pulling away from the wall.
- Warm the Bend: Apply gentle, indirect heat to the front fold line using a heat gun set on low. Keep the heat gun moving continuously to avoid scorching or discoloration. As the vinyl softens, pre-fold it around the corner edge to establish material memory.
- Adhere Without Stretching: Apply adhesive to the wall corner. Press the pre-bent corner firmly against the wall corner, ensuring full contact on both sides. Crucial Rule: Never stretch vinyl molding around an outside corner. Stretched vinyl will inevitably pull back over time, causing seam gaps and edge lifting.
Confined Spaces, Troubleshooting, and Maintenance Tips
Even experienced installers encounter tricky wall layouts. Bathrooms, commercial kitchens, and utility spaces often feature restricted clearances that demand specialized handling.
Working Around Toe Kicks and Tight Obstacles
Tight quarters, such as beneath kitchen cabinet toe kicks, behind floor-mounted toilets, or inside narrow closet returns, present clearance challenges for standard trowels and full-sized caulk guns.
When navigating confined zones:
- Use compact caulk guns or manual hand-squeezed adhesive tubes equipped with short, angled nozzles.
- Pre-cut small vinyl sections precisely to size during dry fitting before applying glue. Applying adhesive to pre-cut short pieces outside the tight space prevents accidental adhesive smears on surrounding cabinetry or plumbing fixtures.
- Use a small 1-inch wooden hand roller or putty knife wrapped in a clean rag to press the base firm inside shallow cabinet recesses.
Avoiding Common Pitfalls and Long-Term Care
To preserve the appearance and performance of your vinyl base molding, avoid these common installation errors:
- Stretching Material During Placement: Pulling or tugging on vinyl strips while rolling causes initial temporary elongation. Once the adhesive cures, the vinyl slowly returns to its original length, leaving large gaps at end seams. Always roll back toward previous seams to keep joints tight.
- Ignoring Adhesive Open Time: Placing vinyl base over adhesive that has developed a skin due to long air exposure results in weak bond strength. Work in manageable 10-to-15-unit sections to ensure fresh wet transfer.
- Rolling Away From Seams: Rolling away from a seam pushes tension forward and opens up the joint. Always roll toward existing joints to keep butt seams tightly compressed.
- Routine Maintenance: Clean installed vinyl wall base using neutral pH liquid floor cleaners, warm water, and micro-fiber towels or sponges. Avoid abrasive scouring pads, harsh chemical solvents, or strong bleach mixtures that can dull the vinyl’s protective surface layer.
Frequently Asked Questions About Vinyl Cove Base
Extra Material to Order for Scrap
When ordering vinyl base cove molding, budget an additional 5% to 10% over total room perimeter measurements. This extra material accounts for corner trimming scrap, end adjustments against door casings, and minor fitting cuts.
Can vinyl cove base be installed over existing vinyl wall coverings?
No. Water-based acrylic wall base adhesives require at least one porous substrate surface to cure properly. Installing vinyl molding directly over non-porous vinyl wallpaper traps moisture, preventing the adhesive from drying. Always trim and peel away vinyl wallpaper 1/4 inch below the top line of the target baseboard height.
Why is my vinyl wall base pulling away at the seams?
Seam separation typically occurs due to three main factors: stretching the vinyl during installation, rolling away from seams rather than toward them, or allowing adhesive to skin over before pressing the molding into place. Maintaining steady room temperatures between 65°F and 85°F during installation also prevents excessive thermal expansion and contraction.
Conclusion
Installing vinyl base cove molding provides a durable, easy-to-clean transition that protects wall bases while masking floor edge gaps. By properly preparing wall surfaces, maintaining ideal temperature conditions, calculating adhesive coverage accurately, and applying non-stretch corner techniques, you achieve a smooth, professional result that lasts for years.
Whether you are updating a residential mudroom, a commercial hallway, or a basement laundry area across Chicago, Rosemont, Park Ridge, Des Plaines, or surrounding communities, quality materials and precise installation methods make all the difference. Explore our extensive selection of baseboard trim options at K&B Direct to find the ideal molding styles and profiles for your next home improvement project.